During any business critical period, businesses need an easy way to communicate with their clients through their website.
One simple way of doing this is to display a popup message when visitors arrive on the site, either on the homepage or on popular landing pages. We are not fans of popups for ever day usage as they can spoil the user experience, however, this is one of those scenarios where popups actually works.
We have together a simple tutorial on how to display a popup message on your WordPress website using the Popup Maker plugin. There are other popups available but we found this one easy to setup and configure.
Install Plugin
First step is to add the Popup Maker plugin, navigate to Plugins > Add New and then search for “Popup Maker”.
The install process has two steps; the first step installs the popup plugin and then the second step activates it. Click “Install Now”, then “Activate”.
You should now see the plugin in the Plugins > Installed Plugins menu option;

It will also add a new Popup Maker plugin to the left hand menu.
If you need more help installing WordPress plugins, the WPBeginner has a great guide including how to manually install a plugin if the automatic process doesn’t work.
Create Popup Message
From the left hand menu, click Popup Maker > Add Popup. This will take you to the Add New Popup screen;

Firstly, give your popup a meaningful name, this can be anything as it is not displayed to the user, then give your popup a title and enter the appropriate message in the text box. The text box has the usual styling option available.
Popup Display Condition
The next stage is to setup the conditions for when the popup is displayed. This can be done via the Popup Settings section further down the page;

Click “Add New Trigger” to bring up the dialog;

Change the dropdown to “Time Delay / Auto Open” and then click Add followed by Add again.
Select Targeting within Popup Settings to choose a condition for when the popup is displayed;
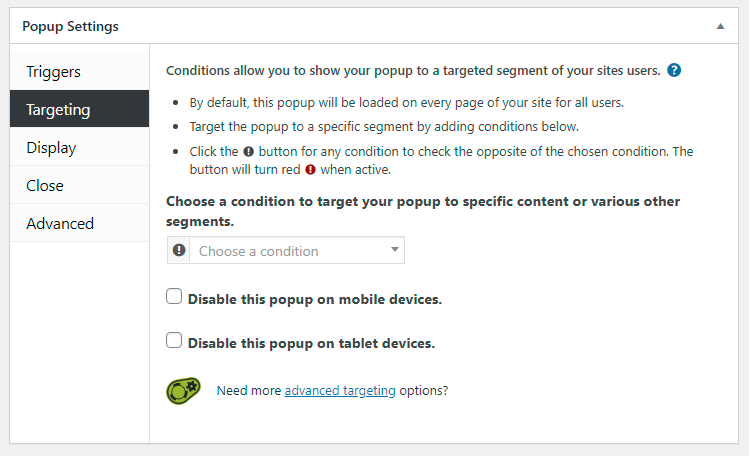
From this dropdown, you set the conditions for when the popup is displayed. This can be on certain pages or posts or perhaps all pages. It also enables you to decide whether to display the popup on mobile devices.
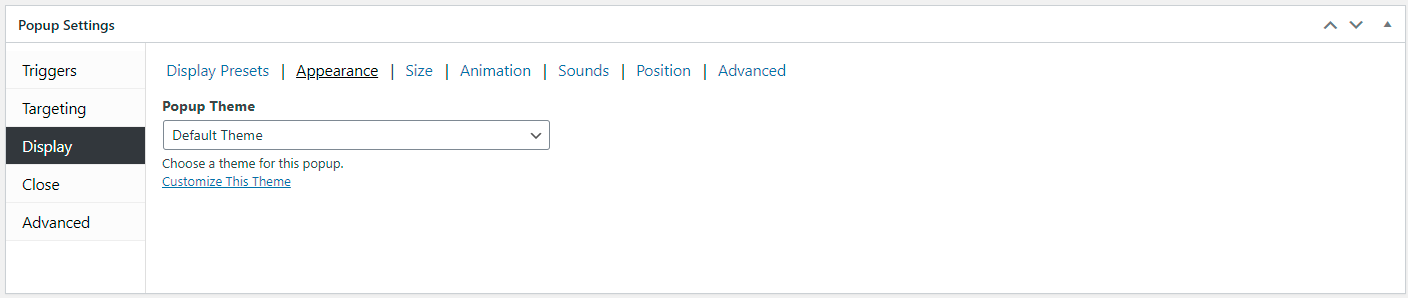
Popup Styling
The look and feel of the popup are based on themes. There are a number of preset themes or you can use the theme editor to create your own custom styling.
The full documentation on the preset themes and the theme editor can be found on the Popup Maker website.
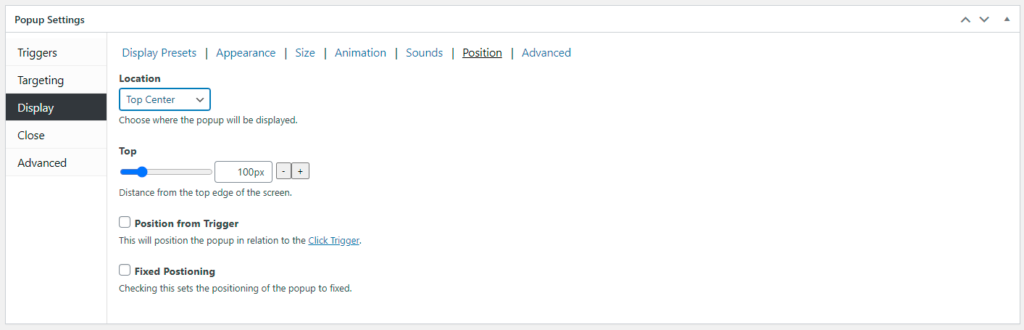
Popup Position
If you have want your popup to be in a specific position on the screen, you can control that from the Position option within the Display tab.
Once you have done all of the above, click Publish and your popup is now live.
This enables you to create a basic popup using the free version of the plugin. There is a premium version which enables additional functionality such as integrating with mailing list software such as MailChimp. Full details can be found here.
If you found this tutorial useful,
then please share to help others
Need More Help?
This is only an introduction on how to display a basic popup on your WordPress website.
If you would like help with adding a popup to your WordPress website, then our WordPress Consultancy service can help. We offer WordPress support and development by the hour to help with any WordPress website issues.
If you feel that we have missed anything in the guide, please drop us a message below and we will aim to expand it.